Here are the kiddos dyeing Easter eggs at Grandma Judy & Grandpa Larry's house. It brings me back to Oliver's first time dyeing eggs when he was 17 months old (Jo is now 16 months). They're so cute!
Showing posts with label get creative. Show all posts
Showing posts with label get creative. Show all posts
Saturday, March 30, 2013
Wednesday, March 27, 2013
Volcano Easter Eggs!

We took the kids over to my in-law's house today to dye some Easter eggs. Colleen asked me if I'd seen the pin she'd found on Pinterest (I hadn't). It was for volcano Easter eggs, and she wanted to give it a try. You can find the pin right here, and it will direct you to a fun blog called "Toddler Approved." Check it out!
The basic idea behind the activity is this: You paint your Easter eggs using a baking soda and food coloring mixture. Then, you drizzle the egg with vinegar. It foams and dyes the egg!

It reminds me a lot of the vinegar and baking soda color explosion activity we've done (many times now) in the past. This one doesn't have quite as sensational of an explosion, but it's absolutely a new and fun way to dye those eggs!
To make the paint, I eyeballed about a Tablespoon of baking soda. I added 6 drops of food coloring, and then I added just splash of water. That was enough to thin it out enough to paint.
Here are the kids painting their eggs with Grandma Colleen:


Once your egg is painted, set it in a bowl or other container (something you don't love dearly, in case it stains) and drizzle some vinegar on it. It foams! Oliver was in awe and said, "Wow, Grammi, wow!"


Here's a video of our kids making volcano Easter eggs:
Wednesday, November 21, 2012
Toddler Glitter Pinecone Ornaments

I'm feeling nostalgic. I remember hanging all of the ornaments we made at school every year onto our family Christmas tree. There were paper plate wreaths with our photos in the middle and, of course, glitter pinecones.
My cousin did this craft with her daughter last year and wrote about it on her blog here:
http://playadventures.blogspot.com/2011/12/glitter-pinecones.html
I loved the idea of shaking the pinecones in a bag of glitter (less mess!), so I decided to give it a try with Oliver.
I'm adjusting the supplies you need, based on my own experience:
Pinecones (I collected them outside with Oliver)
Plastic bags with seal closures, or tupperware with lids that snap securely
Children's glue or Mod Podge
Paint Brushes
Glitter
We purchased a pack of glitter at the dollar store. It came with five small containers like these:
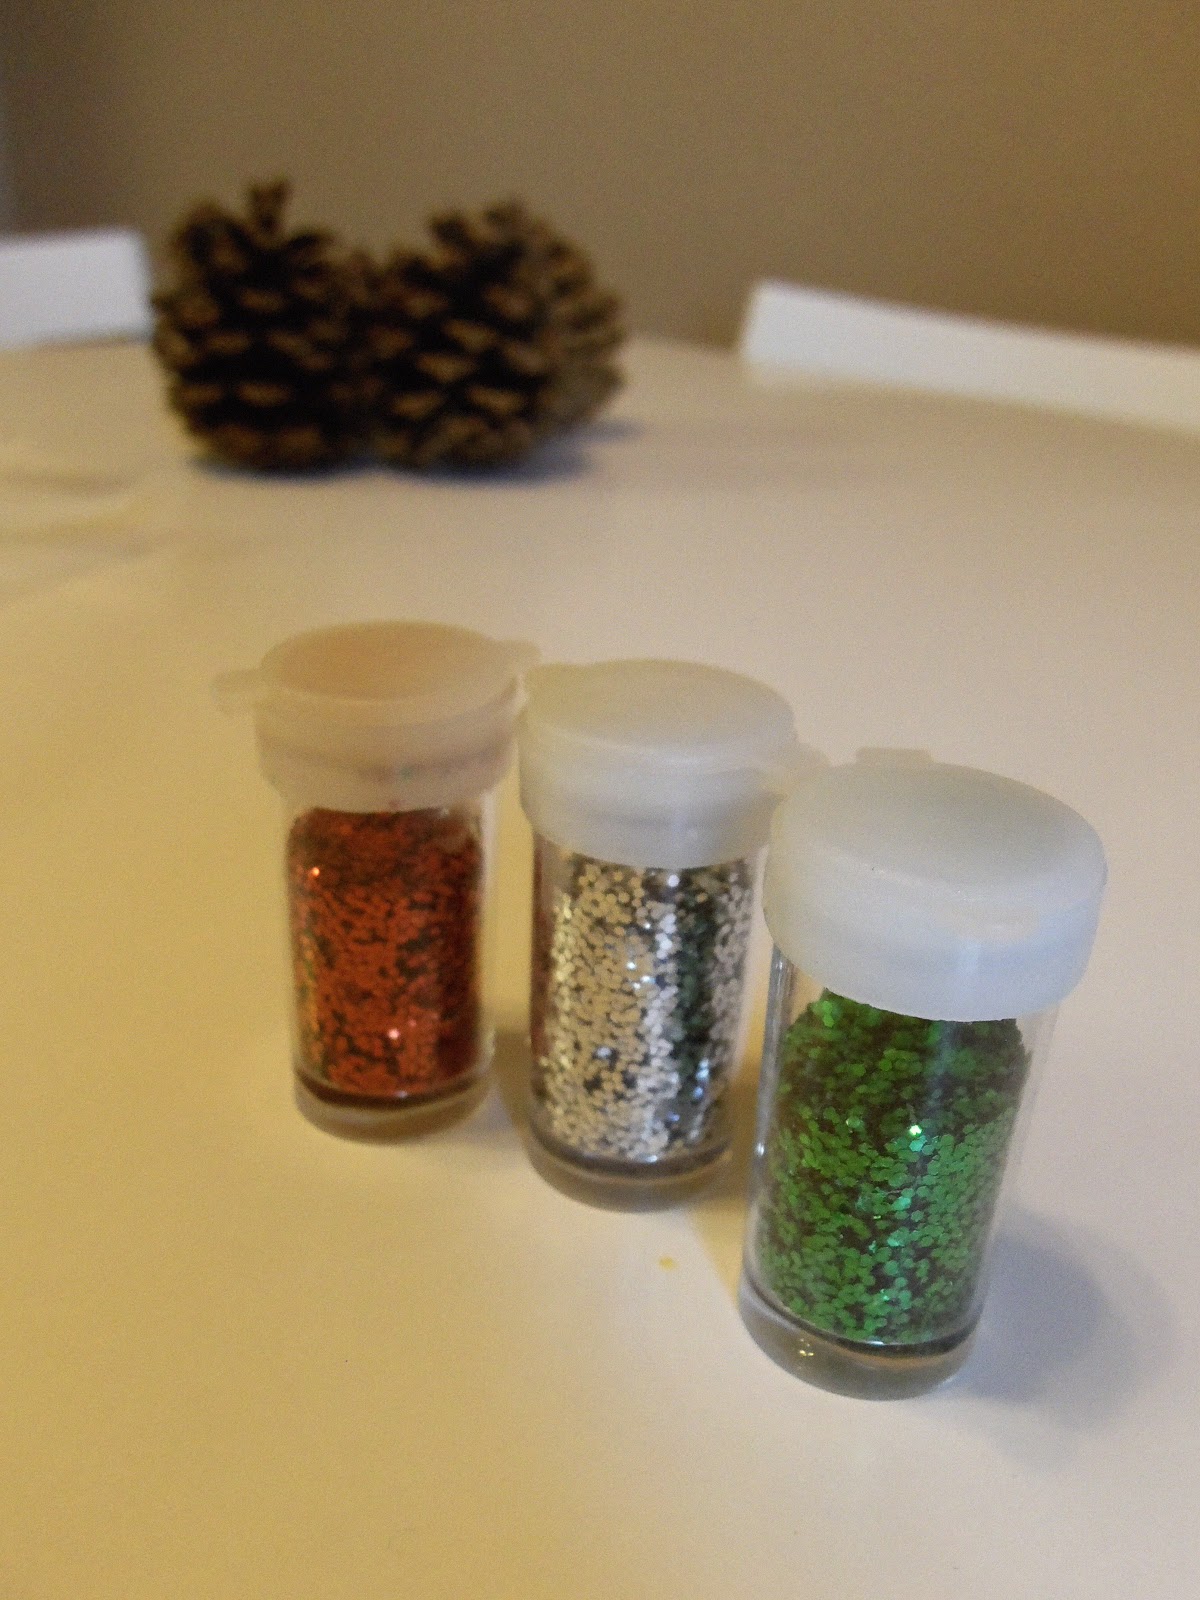
As it turns out, one container would coat just a single pinecone! So, with the pack of five, we were able to make five pinecones.
Here's what you do to set up:
1. Pour your glitter into a plastic bag or tupperware.

2. Pour your glue or into bowls. At first, I mixed them with paint, like my cousin suggested. I wasn't very pleased with the results. The red glue looked pink when coated in silver glitter, and the white barely showed through. It just wasn't worth getting paint and mixing it in (in my opinion). So, save yourself that step and just pour your glue into a bowl.

3. Place some newspaper, wax paper, or paper towels on your table to protect the area from spilled glue and glitter. Then, put your kid to work!
Here's Oliver painting his pinecones:


Oliver was able to do most of the painting himself! When he was done, I used the brush to push any large globs of glue around.
We worked one at a time so the glue wouldn't dry. When he was finished with a pinecone, I placed it in our plastic baggy and sealed it. Oliver shook the dickens out of it!


I even took a video because, yeah, I take photos of videos of everything.
Here are the glitter pinecones! OK, so working clockwise, the pinecone on the far left was painted with white glue and shaken in a bag of green glitter. The next pinecone was painted in white glue and shaken in red glitter. The next pinecone was painted in red glue and shaken in silver glitter. The next pinecone was painted in plain glue (no paint) and shaken in silver glitter. The final pinecone was painted in white glue and shaken in a mixture of red glitter and cinnamon (to make it smell Christmas-y).

I used my hot glue gun to attach yarn to hang our pinecones as ornaments. That step is optional. You can display your pinecones scattered on the mantel or in a glass bowl on your dinner table.

I plan on getting some holiday gift tags to attach to the yarn so I can write Oliver's name and the year on them. We'll give one to each set of grandparents as a gift.
Here are our finished ornaments hanging from the tree:

Oliver loves them! He goes up to the tree and points out these and the cinnamon ornaments we made last week. He says, "Oh! There are the cookies! They smell good. There are the pinecones!" So, it's safe to say this project was a hit!
Thursday, October 11, 2012
100 (Attempted) Ways to Entertain a Young Toddler, Day 84: Pumpkin Finger Painting

A few weeks ago, while browsing Pinterest for ideas for the kids' birthday/Halloween party, I found a pin with a unique pumpkin decorating idea (here's the original pin). The woman used a spray adhesive to stick leaves onto her pumpkin, and then she spray painted the whole thing black. She peeled away the leaves, leaving behind an orange space in the leaf shape. It was neat!
I decided to make a toddler version of the pin. First thing was first. We needed leaves! Good thing Oliver and Jo were up for the task. Note that dry leaves won't bend around your pumpkin, so you'll want green leaves for this project.
I decided to make a toddler version of the pin. First thing was first. We needed leaves! Good thing Oliver and Jo were up for the task. Note that dry leaves won't bend around your pumpkin, so you'll want green leaves for this project.


Then, I used Mod Podge (which is non-toxic) to stick the leaves to the pumpkin like so:
Wednesday, August 22, 2012
100 (Attempted) Ways to Entertain a Young Toddler, Day 80: Paint with Cars

A couple weeks ago, I was brainstorming for new project ideas to entertain Oliver. As I was going through is box of little toys, I thought I had a unique idea: why not paint using his toy cars? Later, I was browsing my cousin's blog site and saw that she'd posted this activity months ago. I get the feeling I saw it, forgot it, and then thought I came up with the idea myself!
Why not still give it a try? I grabbed a bottle of non-toxic black paint and squeezed some into a shallow bowl. I taped some sheets of paper down onto the table and then showed Oliver how to run his cars through the paint and then onto the paper. He loved seeing it transfer on the paper, and he started sticking his hands in the tracks and smearing it around with his fingers! I think it's fair to say he had a good time.
Photos of our painting activity:


Tuesday, July 31, 2012
100 (Attempted) Ways to Entertain a Young Toddler, Day 76: Toddler Rock Painting

I came up with a new art project for Oliver, and it worked out so well. I call it "Toddler Rock Painting."
Here are the supplies you need:
Rocks
Non-toxic paints (I used acrylic)
Tupperware with a strong lid (choose one that can get icky)
Wax paper
Step One: Take your toddler outside to pick out some rocks.

Step 2: Wash your rocks to remove any dirt. Let your child help!

Step 3: Squeeze some paint into your Tupperware. Your child can help with this part if you don't mind a potential mess.

Step 4: Put one rock into the Tupperware, and put the lid on, making sure it's secure. Show your child how to shake it. Let them go to town shaking up the rock and paint.

Step 5: Remove the rock, and set it on some wax paper to dry. Add a little more paint to your Tupperware, and drop another rock in. Shake, shake, shake!
Here's a video of our project:
We made four rocks:

Step 6 (Optional): Watch your rocks dry.

By the time we woke up the next morning, our rocks were completely dry.

Oliver put them in the food processor, which I let him play with (without the blade and unplugged, of course!). He told me he was making rock soup.

This project was a huge success! Oliver keeps asking me if we can paint again. This is the most fun he's had with any art project. I have a feeling we'll be doing this project over and over again. A+!
Wednesday, July 25, 2012
100 (Attempted) Ways to Entertain a Young Toddler, Day 76: Corn Cob Paint Roller

Earlier this week, I shared some natural teething remedies that I've picked up in my few years as a mommy. One of those remedies involved a corn cob (click here to read more about that and other teething tips). My husband actually removed the corn bits from all three of our cobs, "just in case" I needed more than one for my blog. I didn't. Or so I thought.
I stared for a while at the leftover cobs on our counter top. What could I use them for? A creative idea hit me: an empty corn cob + corn holders = a paint roller.
Set up an area that you feel comfortable with your kids making a mess. Take an empty, scraped corn cob and stick two corn holders on the sides to make a paint roller. If you don't have corn holders, they're not really necessary, but they do help keep your kid's hands relatively clean. Put a few sheets of plain white paper on the work area. You can tape them down to keep them from sliding. Squirt some washable, non-toxic paints on a long sheet of wax paper (or parchment paper or whatever you have in the house).
Show your child how to roll his/her "paint roller" into the paint. Encourage your kid to roll it on the white sheets of paper.

Oliver enjoys figuring out how new things work. To him, the paint roller was a puzzle. He dipped it in the paint and stuck his face close to the paper to watch the paint transfer from the roller to paper.

If you use primary colors (yellow, red, and blue), then it's possible they'll end up mixing on the paper and will make new colors. If your child is a little older, you can take that opportunity to teach that red and yellow mix to make orange. Yellow and blue mix to make green, and red and blue mix to make purple. The colors they make--orange, green, and purple--are secondary colors. If your child is younger, simply point out which colors they are using as they use them to teach the names of colors. Also, if your child is younger, you might also find that he (or she) enjoys the feel of the paint. Young toddlers love to explore different textures! If you don't mind a mess, let your child feel the paint. Be careful not to let him get it in his eyes or shove it in his mouth. Even though it's non-toxic, it's better to be safe than sorry. For kids that enjoy shoving everything into their mouths, you can try yogurt finger painting instead.
Oliver loved using the roller, but, in the end, he wasn't able to resist the temptation of using his fingers to spread the paint around. Let's just say I ended up with quite the mess, but nothing a little soap and water couldn't clean!

Corn Cob Paint Roller earns an B+. It's creative and fun. Because it's new and unique, it engages kids. It's also a very affordable activity. Corn is currently still in season and is quite cheap. In my area, it's priced at 20 cents an ear and falling! However, the activity is also messy, involves both prep and clean-up, and requires a number of materials (paints, corn, etc).
Do any of you upcycle your corn cobs? What do you use them for? My husband told me they make great kindling for fires. I read online that Native Americans used to use them for toilet paper. My friend also told me you can spread a bit of peanut butter on them and roll them in bird seed to create a bird feeder. My son and I might tackle the bird feeder project some weekend soon. I'll be sure to update how it works for us!
Thursday, February 9, 2012
100 (Attempted) Ways to Entertain a Young Toddler, Day 66: Ziploc Painting (Pinterest Challenge Day 9)
Today's post is day 9 of my Pinterest Challenge, and it's also attempt 66 in ways to entertain my toddler.
The activity is an easy one (pin here: http://pinterest.com/pin/216383957066036854/). You know me, I love easy activities. The simpler, the better. All I had to do was take a ziploc bag, which I had, and squeeze some paint into it, which I also had. Then, I taped it to the window. That's it!
I wish Oliver liked the activity, and I wish I could give it a good activity grade because of its simplicity. Alas, I cannot. Oliver walked up to it, ran his fingers through it for about thirty seconds, and then left.


 If you have the supplies at home, it might be worth checking out this activity to see if your child is more interested in it at mine. Based on my experience, though, I do not recommend running out and buying bags and tape to try it.
 I give the activity props for being easy to set up and so easy to clean, but because my son was absolutely uninterested in doing anything with the baggy full of paint, I give this activity a D-.
Monday, January 9, 2012
100 (Attempted) Ways to Entertain a Young Toddler, Day 62: Color in a Bag
Oliver's activity for today came directly from Disney's Family Fun website, and it's called "Color in a Bag." This activity takes some prep (Approximately 45 minutes), but I decided Oliver would enjoy doing thee work. For him, this activity would be two-in-one!
Here's what you need for Color in a Bag:
1 cup of cornstarch
1/2 cup of sugar
Here's what you need for Color in a Bag:
1 cup of cornstarch
1/2 cup of sugar
4 cups of water
food coloring
ziplock bags (gallon-sized, preferably)
In a pot over medium heat, stir together the cornstarch, sugar, and water continuously until it begins to thicken (this took about 10 minutes for us). Take the pot off of the heat and continue stirring for another minute until the mixture reaches a pudding-like consistency. Allow the mixture to cool for 30 minutes.

 Once the cornstarch mixture is cool, divide it into three separate bowls. Using food coloring, dye each bowl of mixture a primary color (red, blue, and yellow). Put approximately one cup of red and a cup of yellow in a ziplock bag. Repeat with the other two bags using red and blue in one and blue and yellow in the other. When your child plays with it, the red and yellow will make orange. Red and blue will make purple. Blue and yellow will make green. Seal the bags tightly, using tape if necessary.


Once the cornstarch mixture is cool, divide it into three separate bowls. Using food coloring, dye each bowl of mixture a primary color (red, blue, and yellow). Put approximately one cup of red and a cup of yellow in a ziplock bag. Repeat with the other two bags using red and blue in one and blue and yellow in the other. When your child plays with it, the red and yellow will make orange. Red and blue will make purple. Blue and yellow will make green. Seal the bags tightly, using tape if necessary.
I only made two bags because I only had two bags. Once I finished spooning in the goo, I gave them to Oliver. He went nuts over them for about, well, three minutes. But during those three minutes, he had a ball tossing the bags, squishing them with his toes, and mashing them with his hands while squealing loudly.


Just as quickly as the fun started, it ended. Oliver wanted to open the bags. I told him no. He got up and went to play with his kitchen. An hour later, he still hadn't gone back to his color bags. After another hour, I just decided to chuck them rather than risk him opening them when I wasn't looking.
The activity itself was less than stellar. It was fun to make it with Oliver, but we could have just as easily baked cookies or brewed coffee, and he would have had a good time. If he was older, the activity might have been good for educational purposes, but he's still too young to really learn about primary and secondary colors. As it was, it seemed like a big, fat waste of effort. Forty-five minutes of prep work for three minutes of fun. It also created a lot of dirty dishes. I give "Bag of Colors" a D for young toddlers, but I might revisit this activity in another year or so when Oliver learns about mixing colors. Of course, I might also just squeeze some paint onto a paper plate to save time and not make such a mess!
The activity itself was less than stellar. It was fun to make it with Oliver, but we could have just as easily baked cookies or brewed coffee, and he would have had a good time. If he was older, the activity might have been good for educational purposes, but he's still too young to really learn about primary and secondary colors. As it was, it seemed like a big, fat waste of effort. Forty-five minutes of prep work for three minutes of fun. It also created a lot of dirty dishes. I give "Bag of Colors" a D for young toddlers, but I might revisit this activity in another year or so when Oliver learns about mixing colors. Of course, I might also just squeeze some paint onto a paper plate to save time and not make such a mess!
Subscribe to:
Posts (Atom)