Showing posts with label kids crafts. Show all posts

Tuesday, February 11, 2014

Preschool Activity: Learning to Sew Mittens

My cousin has a son who is about the same age as Oliver. He was born two months earlier, but they are separated by a grade in school due to the cut-off. She posted about an activity he did recently to learn how to sew. I decided to test it out with Oliver!

For this activity, you need paper, scissors, a hole punch, yarn, and a yarn needle. You can also get out stickers & crayons to decorate the finished product.


I cut out the outline of a mitten on two sheets of paper. Then, I used a hole punch and punched holes along the edges of the mitten for Oliver to sew along. I started the first stitch so I could knot it myself. Then, I taught him to sew by going over and under with his needle. He picked it up quickly!


The mitten wasn't big enough for his hand, so we put it on his stuffed animals. He was very proud of himself.

Here's the finished product, decorated with Minnie Mouse stickers:

I also have a video of Oliver sewing. He's very chatty these days.


Tuesday, October 15, 2013

Preschool Kids' Craft: Easy Fall Wreath


Twice recently, I've taken Jo to MOMS Club, and she's gotten to play with foam stickers. She has had the best time with them! Just yesterday, we were at a mom's house, and Jo stuck a bunch onto a paper plate. It gave me an idea...

I went out to Michael's and found a bucket of those stickers. They were $7.99 but on sale for 40% off for Columbus Day. They usually have 40% off coupons on their website. I also picked up a glue stick and some paper plates from the grocery store. Then, I took & printed some photos of the kids. I cut them down to the size of the center of our paper plates.

Here are our supplies:
Jo quickly jumped into the project and stuck leaves all over the center--not exactly a wreath. I wanted her to have fun, though, so I lightly glued some parchment paper on the center of the plates. I figured I could just peel off the parchment paper at the end to get any excess stickers off the center. Turns out, that step ended up being unnecessary for Oliver. He was very eager to do the project "right" and stuck all the stickers around the edge of his plate.


He really loved this project!

Here's Oliver with his finished wreath. He even glued the back of the picture himself using a glue stick.


Joanna discovered it was better to put the stickers on herself and the table. She decided putting stickers on the plate just wasn't cutting it anymore.


It looks like she's putting more stickers on the plate. Nope! She's pulling them off.

So, Oliver got busy making an extra wreath frame for Jo!

I stuck magnets on the back and wrote their names and ages on the front. Everything else was done by Oliver! Afterwards, he begged to make more, so we are about to get busy making one more. This was so cute and simple, and it's a huge hit! I have tons of stickers leftover, though, including some turkey stickers, so we're going to have to figure out what to do with all of them.

Friday, April 5, 2013

Birdseed Biscuits


Spring has sprung in Denver, and we need some activities to get us out of the house!

At the grocery store today, I passed by a display of bird seed. Years ago, when I was pregnant with Oliver, I flipped through a Parenting magazine at my OB-GYN's office. I saw an article on how to make a cute, little, heart-shaped birdseed biscuit. I tore it out and saved it in my recipe box. When I started on Pinterest over a year ago, I went through a bunch of things I'd saved, pinned them, and then tossed out the random articles and how-to's that I'd saved. Let Pinterest save them for me! So, anyway, I found the birdseed biscuit online and pinned it here. When I saw the birdseed at the grocery store, it reminded me of the project. I decided Oliver is finally old enough! I picked up a 7-pound, reclosable bag of wild bird feed for $6. Warning to parents of kids with severe allergies: the bag of bird feed I picked up said it contains peanuts.


When we got home, I asked Oliver if he wanted to help me make some food for the birds. You guys, he got so excited!

Here's what you need to make your own bird seed biscuits:

*Bird seed (approximately 1 cup)
*Flour (approximately 2 Tablespoons)
*Water (as needed, but approximately 2-4 Tablespoons)
*Cookie Cutter (Or use a cup to cut out circles)
*A straw
*Ribbon or string

Here's how we made our biscuits:

I handed Oliver a 1/4 cup measuring cup and asked him to pour 5 scoops of the bird feed into a bowl. Not all of his scoops were full scoops, so we probably ended up with about a cup of bird seed in the mixing bowl. I asked him to add one small scoop of flour. He filled up the same measuring cup about halfway with flour and dumped it in, so we had about 2 Tablespoons of flour to our mix. This isn't an exact science, so go with it! I filled a small pitcher with just a splash of water. Oliver poured it in and mixed everything together. It looked a little dry, so I got a bit more water. The water and flour basically make a paste to hold the birdseed together.


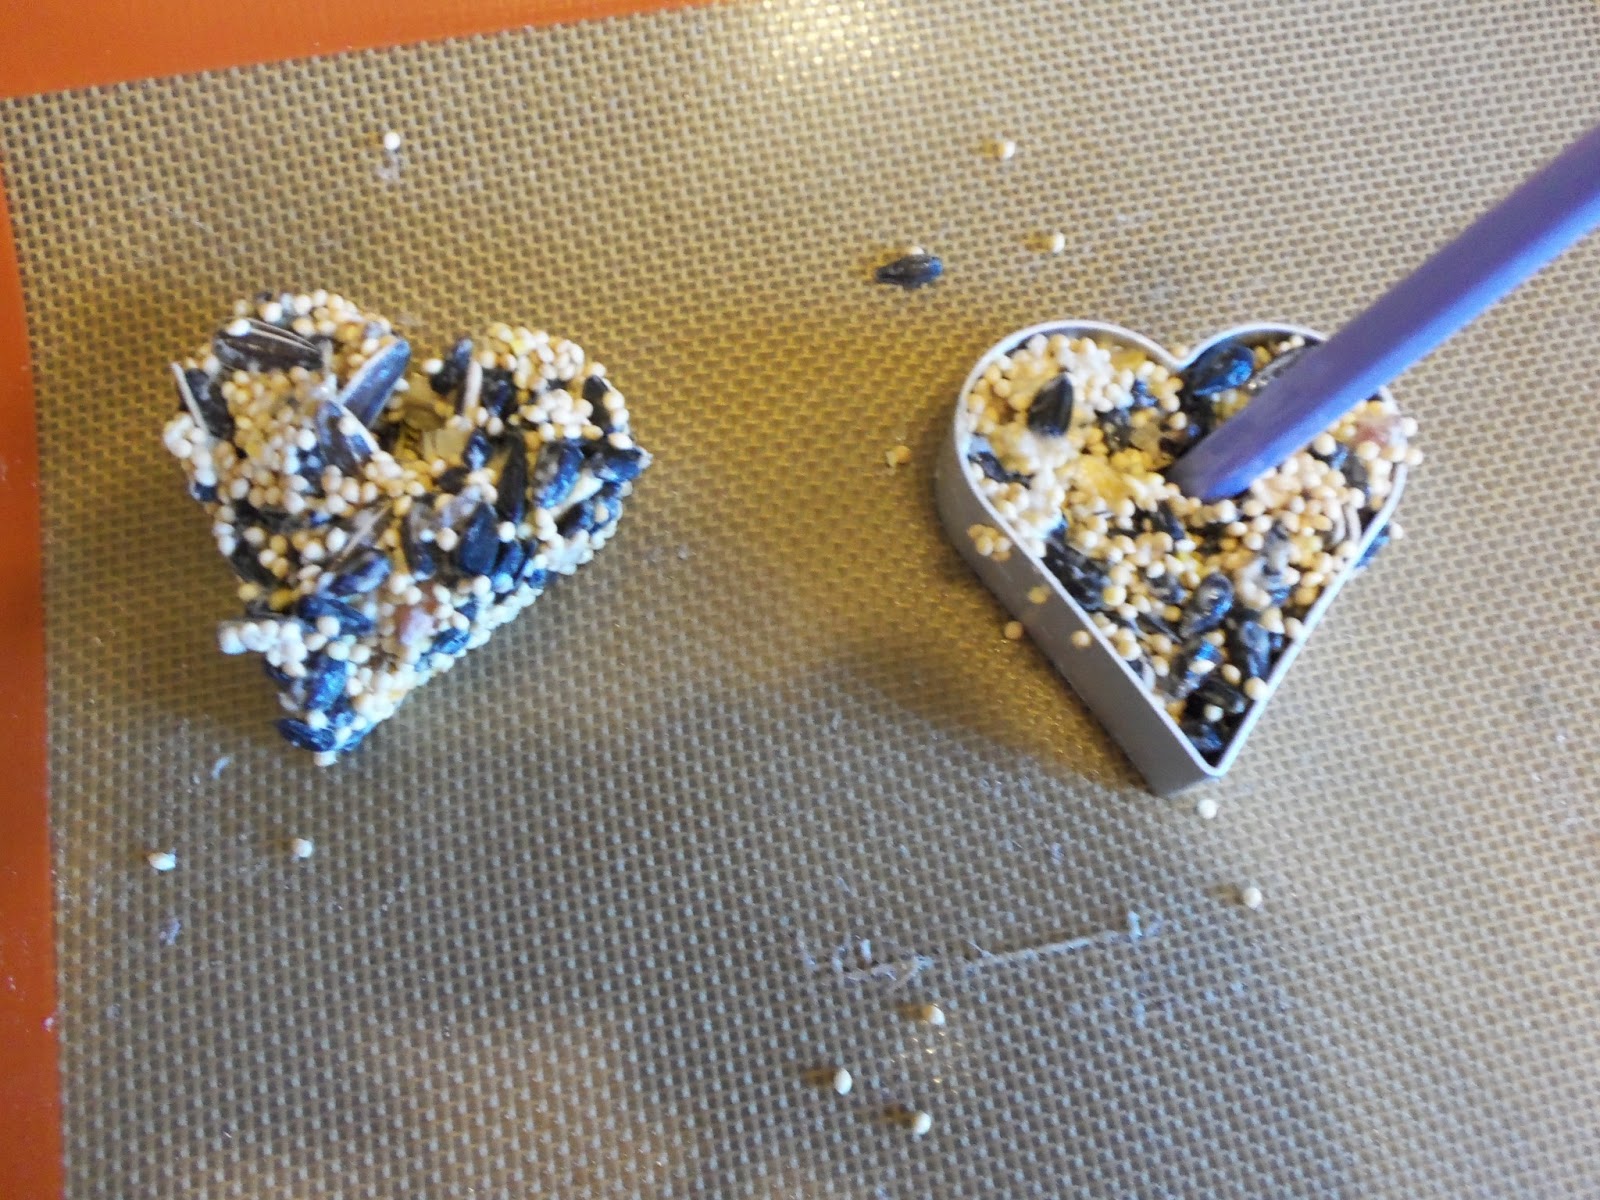
While he mixed, I preheated the oven to 170 degrees F. I sprayed my cookie cutter with Pam. I lined a baking sheet with a silicone liner I have, but you can just put foil or parchment paper on your baking sheet. When Oliver was done mixing, I pressed the mixture into the cookie cutter. I poked a hole with a straw-like instrument I had on hand. Make sure the hole goes all the way through to the bottom of the biscuit, so you can string a ribbon through when they're done baking. The directions I read said to leave the straw in while it bakes, but I actually pulled mine out. It wasn't a problem for us. I gently lifted the cookie cutter away from the biscuit and then got to work on the rest. We got 6 small biscuits out of our mixture. I popped the biscuits in the oven for an hour for them to dry and set.


As they were baking, I put Jo to bed for nap time. As I tucked Oliver in for his quiet time, he looked up at me and said, "OK, so after quiet time, we can go outside and give the birds the food." He is so excited! That made me really happy. The biscuits finished up as they rested, so I finished the project by threading ribbon through the hole in each biscuit, and I tied it with a bow.

As soon as Jo was up, Oliver announced, "OK! We get to go outside and give the birds their food!" He hung each biscuit from the tree. Then, we sat on the porch and blew bubbles, watching for the birds to come.


The birds didn't come. When we ran out of bubbles, I told Oliver we were probably scaring the birds away. So, we went inside, and he watched from the back door.


Finally, a little critter came and ate two of the biscuits. No, it wasn't a bird. It was a squirrel! I captured this photo of the guilty party:

Wednesday, November 21, 2012

Toddler Glitter Pinecone Ornaments


I'm feeling nostalgic. I remember hanging all of the ornaments we made at school every year onto our family Christmas tree. There were paper plate wreaths with our photos in the middle and, of course, glitter pinecones.

My cousin did this craft with her daughter last year and wrote about it on her blog here:
http://playadventures.blogspot.com/2011/12/glitter-pinecones.html
I loved the idea of shaking the pinecones in a bag of glitter (less mess!), so I decided to give it a try with Oliver.

I'm adjusting the supplies you need, based on my own experience:

Pinecones (I collected them outside with Oliver)
Plastic bags with seal closures, or tupperware with lids that snap securely
Children's glue or Mod Podge
Paint Brushes
Glitter

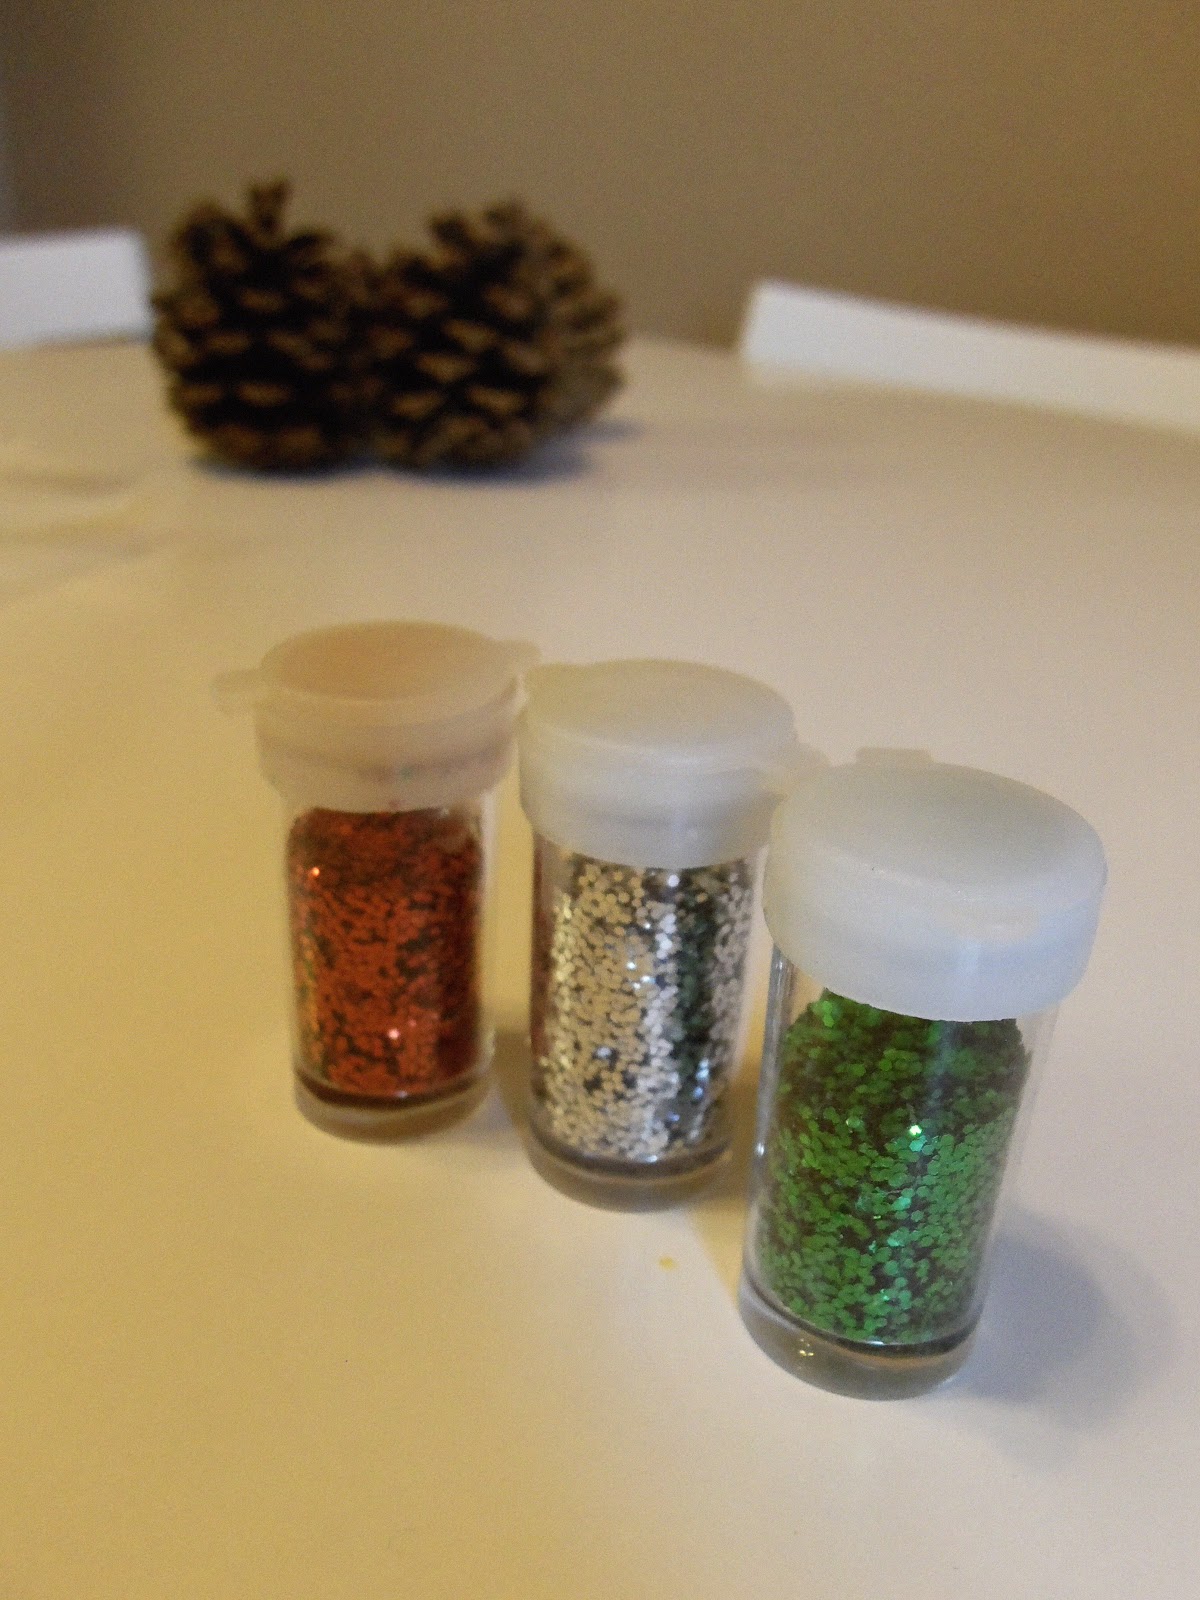
We purchased a pack of glitter at the dollar store. It came with five small containers like these:

As it turns out, one container would coat just a single pinecone! So, with the pack of five, we were able to make five pinecones.

Here's what you do to set up:

1. Pour your glitter into a plastic bag or tupperware.

2. Pour your glue or into bowls. At first, I mixed them with paint, like my cousin suggested. I wasn't very pleased with the results. The red glue looked pink when coated in silver glitter, and the white barely showed through. It just wasn't worth getting paint and mixing it in (in my opinion). So, save yourself that step and just pour your glue into a bowl.

3. Place some newspaper, wax paper, or paper towels on your table to protect the area from spilled glue and glitter. Then, put your kid to work!

Here's Oliver painting his pinecones:

Oliver was able to do most of the painting himself! When he was done, I used the brush to push any large globs of glue around.

We worked one at a time so the glue wouldn't dry. When he was finished with a pinecone, I placed it in our plastic baggy and sealed it. Oliver shook the dickens out of it!


I even took a video because, yeah, I take photos of videos of everything.

Here are the glitter pinecones! OK, so working clockwise, the pinecone on the far left was painted with white glue and shaken in a bag of green glitter. The next pinecone was painted in white glue and shaken in red glitter. The next pinecone was painted in red glue and shaken in silver glitter. The next pinecone was painted in plain glue (no paint) and shaken in silver glitter. The final pinecone was painted in white glue and shaken in a mixture of red glitter and cinnamon (to make it smell Christmas-y).

I used my hot glue gun to attach yarn to hang our pinecones as ornaments. That step is optional. You can display your pinecones scattered on the mantel or in a glass bowl on your dinner table.

I plan on getting some holiday gift tags to attach to the yarn so I can write Oliver's name and the year on them. We'll give one to each set of grandparents as a gift.

Here are our finished ornaments hanging from the tree:

Oliver loves them! He goes up to the tree and points out these and the cinnamon ornaments we made last week. He says, "Oh! There are the cookies! They smell good. There are the pinecones!" So, it's safe to say this project was a hit!

Wednesday, November 14, 2012

Cinnamon Ornaments


Apparently, cinnamon ornaments are a thing. Did you know this? I never heard of them until this year! I guess you bake some cinnamon ornaments, and they leave a warm, cinnamon scent in your home all season long. No kidding! A friend mentioned them to me, so I went online and perused cinnamon ornament recipes.

Most of the recipes call for glue. I settled on the simplest recipe I found by McCormick: just applesauce and cinnamon. You can find that recipe right here. I worried it wouldn't hold as well without glue, but ours worked perfectly.

I combined the 3/4 cup of applesauce with the entire 4 ounce container of cinnamon. I mixed it with a spoon first to get the cinnamon moist, and then Oliver used the Kitchenaid mixer (he loves that thing) to get it mixed well. We rolled it out between two pieces of wax paper. 


Oliver helped me use a cookie cutter to cut out shapes. I made a hole for the ribbon before removing the cookie cutter so the hole wouldn't warp the shape of the ornament. Because I worried the dough was fragile, I transferred each ornament to the baking sheet before removing the cookie cutter.

We got 9 ornaments out of a batch. I baked them at 200 degrees for two and a half hours. After the first hour and a half, I flipped them to make sure they dried evenly. The house smelled incredible as they baked! I threaded them with some ribbon and hung some over the back door and some on the tree.

Oliver loves any excuse to use the mixer. These were fun! I think they'll be an annual tradition in our household. We left them as is this year, but, next year, if Oliver is more crafty, we'll decorate the ornaments with glitter glue. Martha Stewart's website has some beautiful cinnamon ornaments decorated as birds. You can find them at this link. Hers are definitely too intricate for my family this year, but maybe we'll give that a try in another decade or so!

Thursday, October 11, 2012

100 (Attempted) Ways to Entertain a Young Toddler, Day 84: Pumpkin Finger Painting


A few weeks ago, while browsing Pinterest for ideas for the kids' birthday/Halloween party, I found a pin with a unique pumpkin decorating idea (here's the original pin). The woman used a spray adhesive to stick leaves onto her pumpkin, and then she spray painted the whole thing black. She peeled away the leaves, leaving behind an orange space in the leaf shape. It was neat!

I decided to make a toddler version of the pin. First thing was first. We needed leaves! Good thing Oliver and Jo were up for the task. Note that dry leaves won't bend around your pumpkin, so you'll want green leaves for this project.


Then, I used Mod Podge (which is non-toxic) to stick the leaves to the pumpkin like so: